How to Create a Composting Worm Bin in 5 Easy Steps
Not all of us have yards large enough for a compost pile — some don’t have a yard at all — but that doesn’t mean your food waste should go into the garbage can.
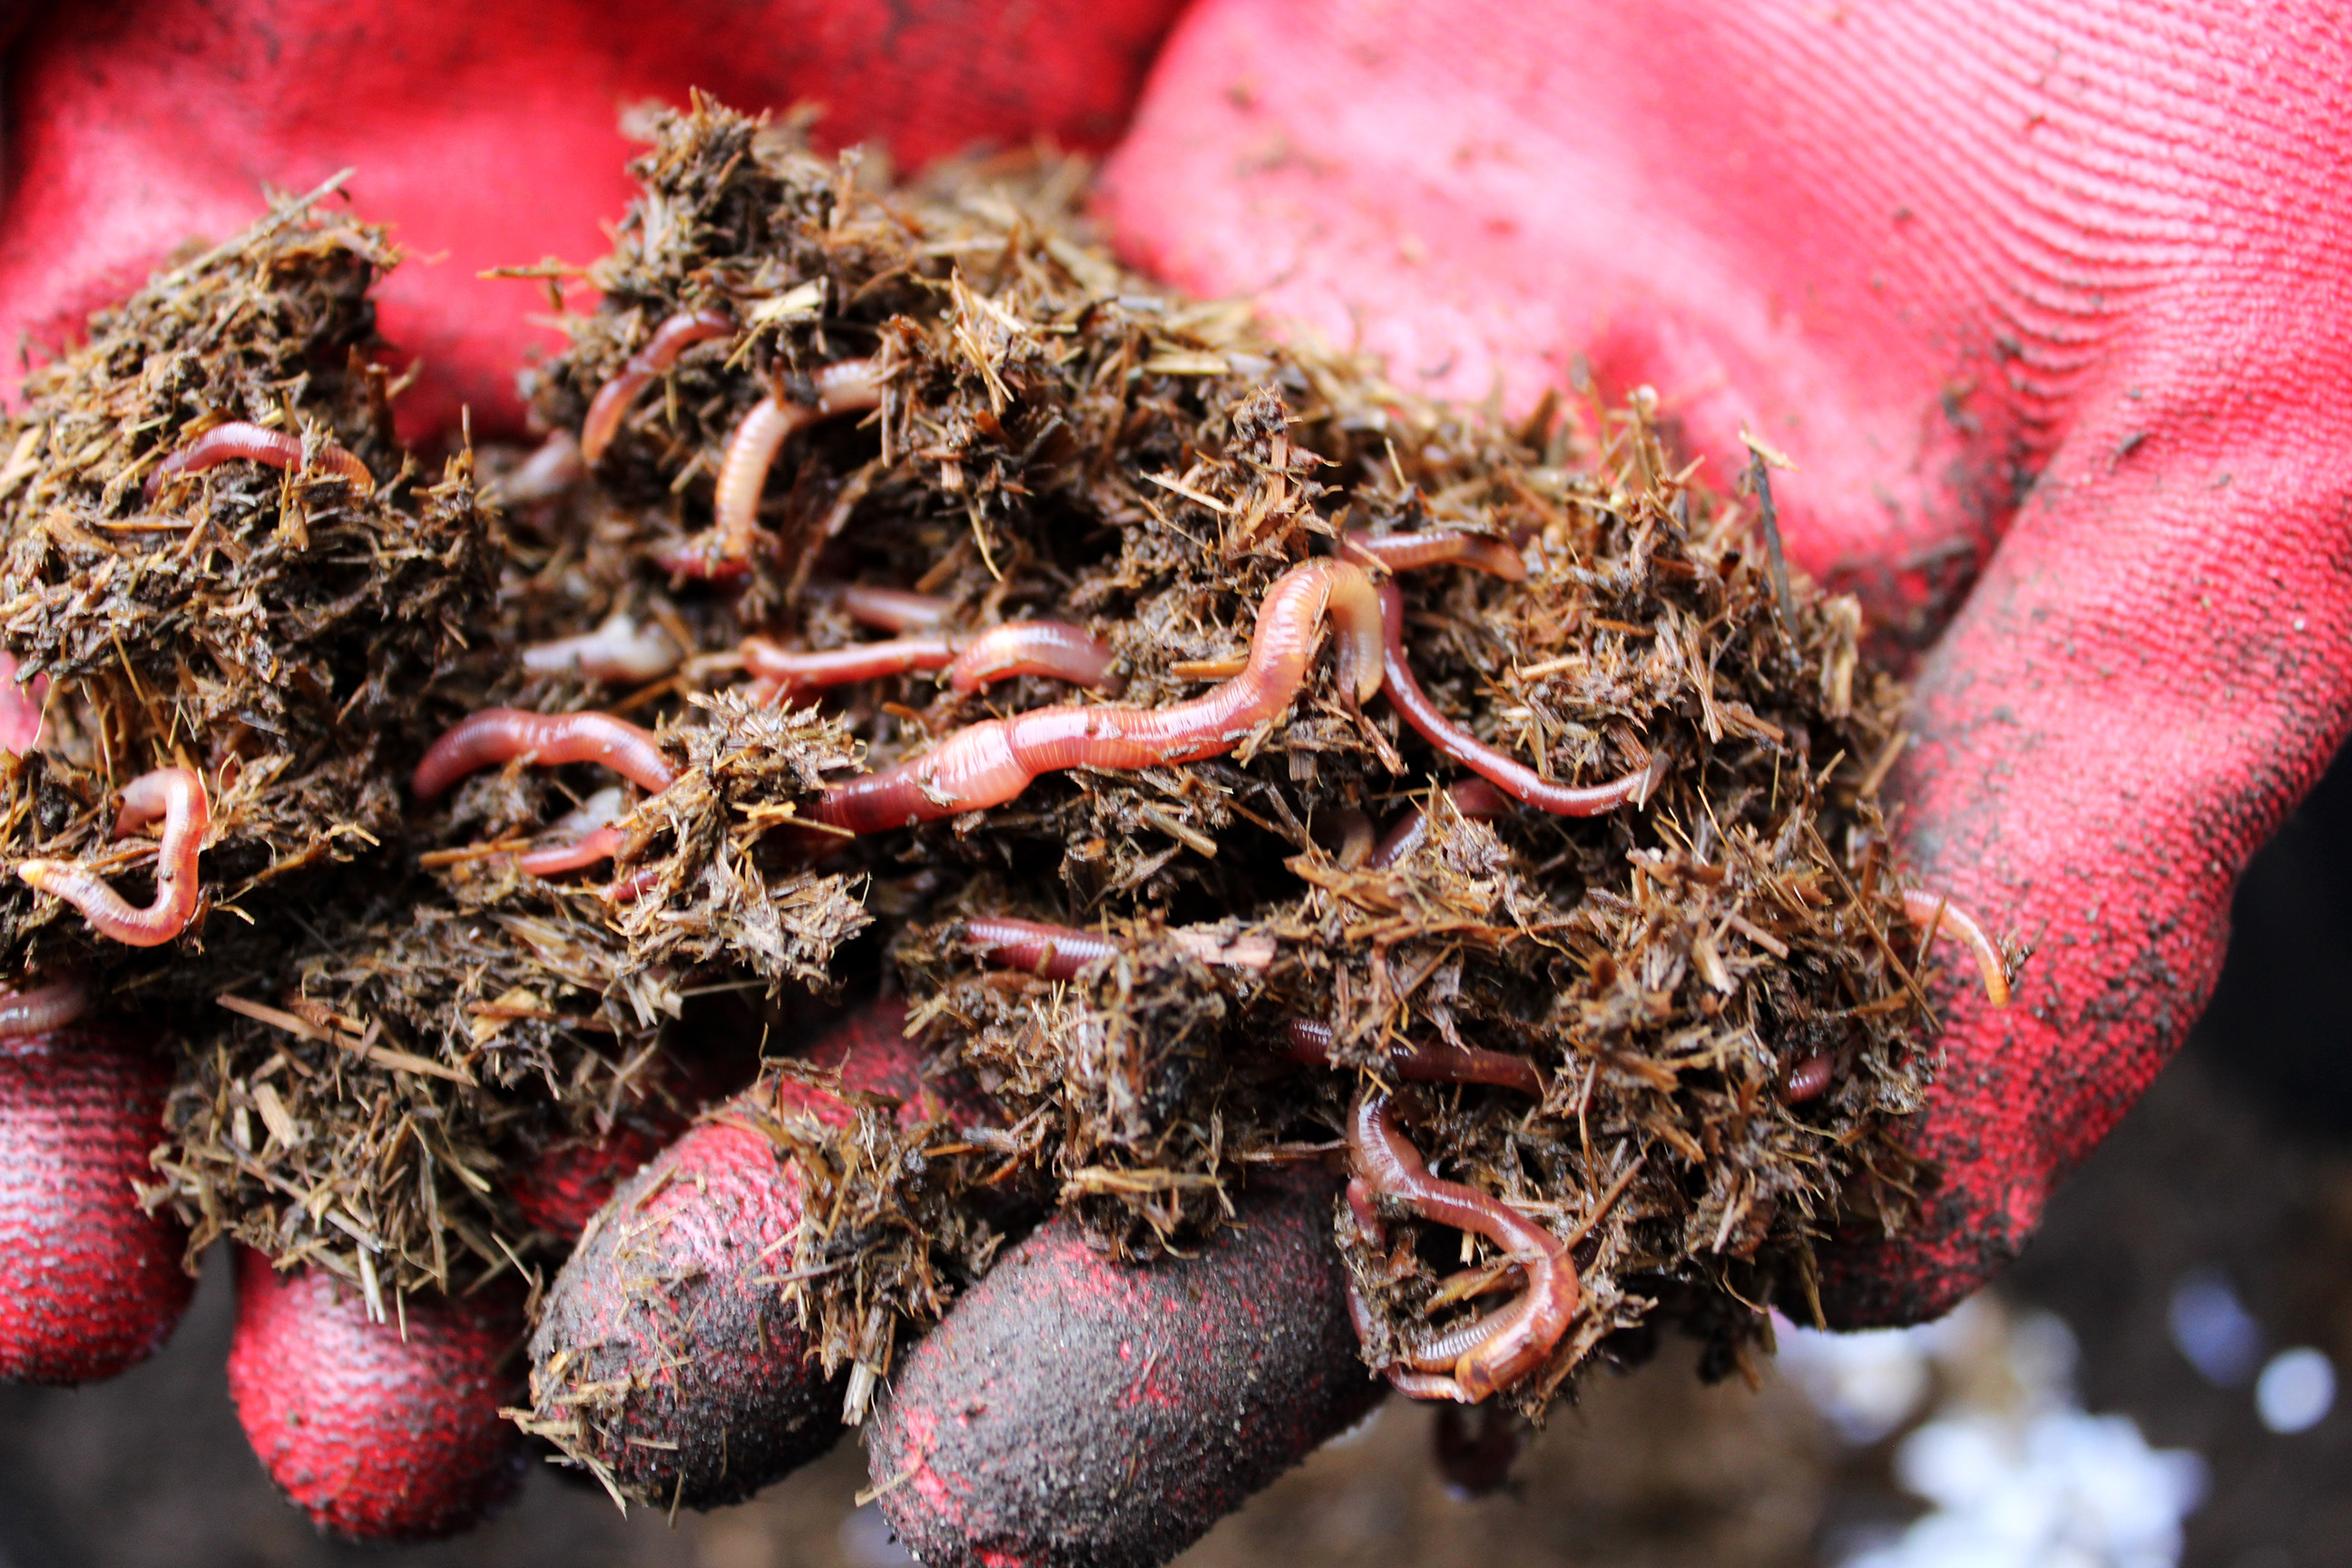
Meet your new best friend: the worm. Sure, they’re not much to look at, but these worms can eat up to three times their body weight in a week and produce a nutrient-rich compost that will keep gardens and houseplants happy and healthy.
The process is known as vermiculture and companies sell intricate worm composters for upwards of $100 online. You can save money and time by making your own using a plastic tote. The worms won’t know the difference! Here’s how:
What You’ll Need
Plastic tote, new or repurposed
Soil, organic potting or outdoor varieties
Newspaper or office paper, shredded or torn into 1-inch strips
Kitchen scraps (vegetables and fruit scraps, bread, tea bags, egg shells, coffee grounds -- don’t use animal by-products like meat or dairy)
Worms (red wigglers are best, but earthworms work, too)
The Environmental Protection Agency suggests drilling holes in the sides of the tote at the top and near the bottom. This lets in air for the worms and allows excess liquid to drain out the bottom. You don’t have to do this, but it can help manage moisture levels in your worm bin and ensure you won’t drown your wriggling pals. Line the holes with a waterproof screen so the worms can’t escape and place a shallow container beneath your bin to collect any liquid, which can be used to nourish outdoor plants.
Cornell University scientists write that you can even repurpose an old fish tank, which is fun for kids and classrooms. The University of Alaska Fairbanks Cooperative Extension Service offers information on more elaborate vermiculture setups as well as small-space-friendly plans.
Building Your Worm Bin

Step 1 - Paper
Wet your paper and squeeze out any excess moisture. (It should be damp, but not dripping.) Line your bin with the torn paper, filling it about 3 - 4 inches deep.

Step 2 - Soil
Spread soil over the paper about 1 - 2 inches deep. Depending on the size of your container, this could be only a few cups of soil or up to 1 cubic-foot bag.

Step 3 - Worms
Add the worms. The EPA and Cornell scientists both suggest knowing how many worms you’re starting with so you know how much to feed them. Worms should be fed three times their weight each week; one pound of worms will eat three pounds of food. The Cooperative Extension Service states that a large tote, half-full with bedding and 500 worms will need 1 - 2 quarts of scraps per week to stay healthy.

Step 4 - Food Scraps
Bury the kitchen scraps in the bin. While the Cooperative Extension Service says to mix the worms and scraps all together, both the EPA and Cornell scientists advise digging a hole and completely covering the scraps. This helps prevent the bin from attracting fruit flies.

Step 5 - Let It Mellow
Cover the bin with a tight-fitting lid and let the worms get to work. Find a warm spot for your bin. Too cold and your worms can die, too warm and your worms will reproduce rapidly.
It’s best to feed them once a week, rather than daily, as worms prefer not to be disturbed. When collecting your scraps, try to cut them into smaller pieces, making it easier for the worms to digest. Citrus degrades at a much slower rate than most fruits, so be aware of how much you add to your bin.
Are you doing creative sustainable things in a small space? Share your photos with us on social media using #edibleAK.